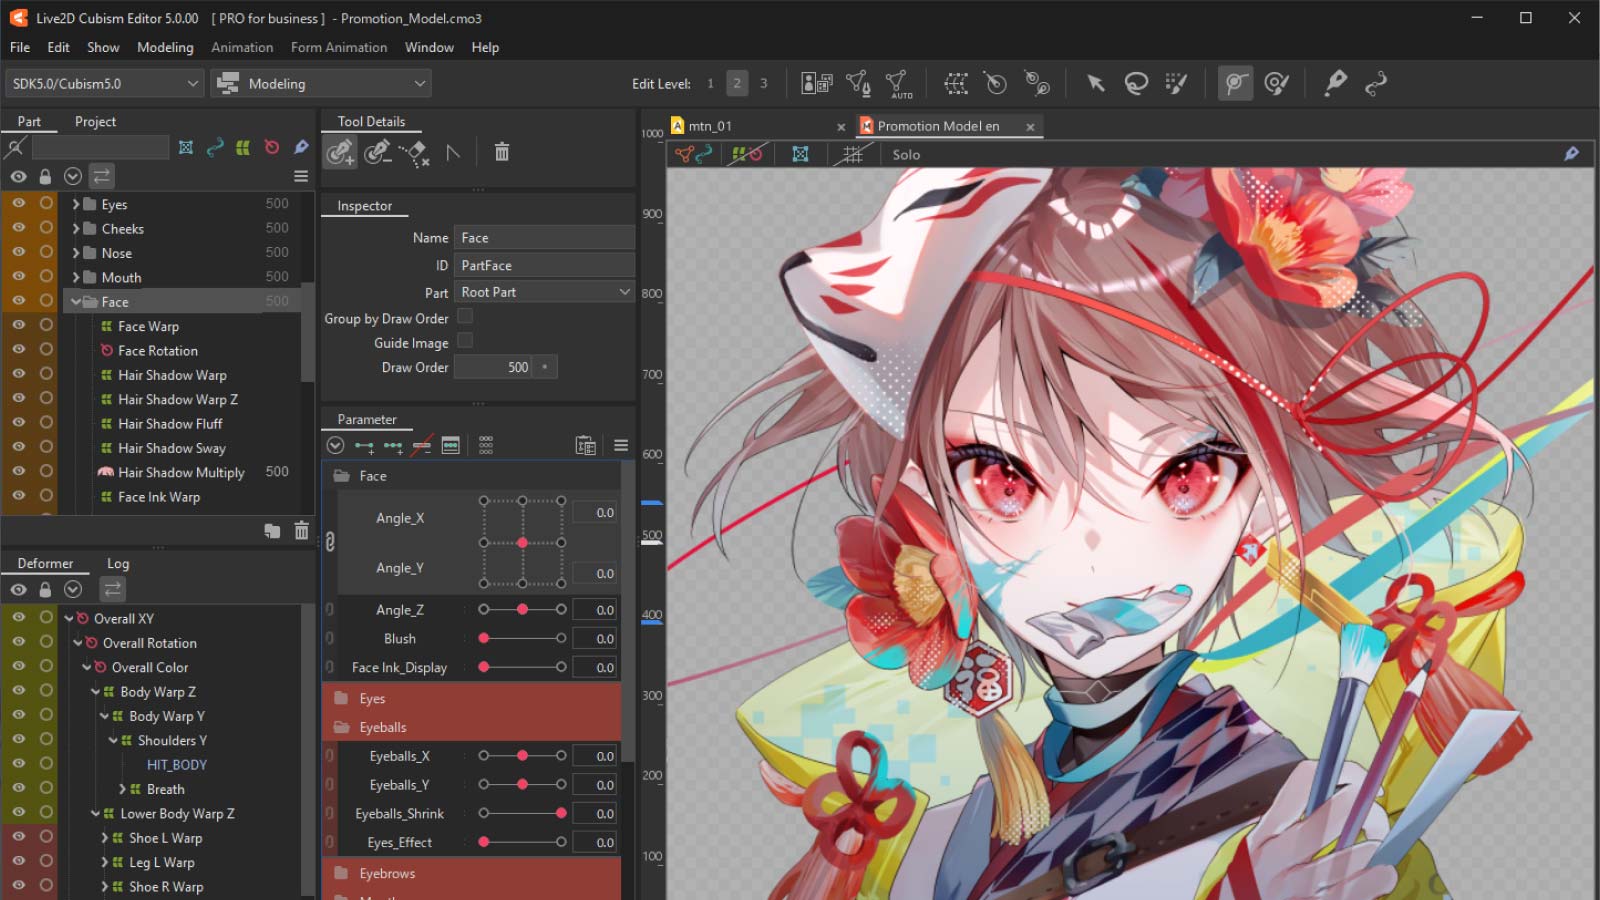
Compare Features – Live2D Cubism FREE vs PRO
Feature differences between the PRO and FREE.
The Live2D Student Discount Program
How-to Guide
The Live2D Student Discount Program allows students and faculty at educational institutions (elementary/middle/high/vocational schools, universities, etc.) to receive a 76% OFF coupon for a 3-year Live2D Cubism Editor PRO subscription.
To apply for the Student Discount, you will need to provide proof of eligibility via a student email address, credentials etc.
You can apply by entering your email address in the empty form via the English page below:

Feature differences between the PRO and FREE.
For creating basic models and animations. Always free.
*If you exceed the limit of the FREE version, you will not be able to save the file.
Only General Users and Small-Scale Enterprises (annual sales less than 10 million yen) may use the FREE version for commercial purposes.
Use of the FREE version by parties other than General Users and Small-Scale Enterprises is permitted only for the following purposes.
[Purpose of use] Non-commercial or supervision purposes
[Use of output files] Internal, non-commercial or supervision purposes
Data compatibility is supported, and data which was created with the PRO version can be opened with the FREE version. When saving data with the FREE version, it is necessary to edit the data so that it is within the function restrictions.
This refers to the images of the parts which compose a character or other subject arranged side-by-side. These are the images necessary to output a model for incorporation into an SDK.
The PSD images that are loaded in the Modeling tab are automatically allocated a mesh for each layer and are arranged on the canvas. Each of these is known as an “ArtMesh.”
Note: In general, the number of layers in a PSD is equal to the number of ArtMesh.
These parameters are settings that express particular movements such as [Angle X] or [Mouth open/close]. The created parameters are combined using the Timeline to express motion.
Blend Shape is a function that creates a new form by adding together the differences between the original object form and the key form.
The Blend Shape Parameters are special parameters that can be used to add the Blend Shape key form. Unlike deformation using normal parameters, deformation using Blend Shape provides a deformation mechanism that does not require the user to consider the number of parameters which are combined.
Deformers are available where you can deform and move all of the ArtMesh vertices together.
Note: The maximum is the total number of Warp Deformer and Rotation Deformers.
The component elements of a character (such as the eyes and nose) are divided into groups in units called “parts.” Each part can be conveniently displayed/hidden, locked, and selected. Each part is a folder, and these can be nested for management in multiple hierarchical levels.
Note: Number of parts = Number of folders
Objects have been added which are ideal for animating line expressions such as profile lines or wrinkles in clothing. These support parameter-based deformation and can provide a higher level of free expression while maintaining the quality of the original illustration.
Increasing the number of divisions for Warp Deformer conversion allows you to reproduce detailed movements along the shape of the Deformer.
These functions allow an object form (shape, opacity, draw order, etc.) to be copied and either pasted directly into a different key form or blended.
This feature unifies the parameter structure of the selected object (curve, image, or coordinate system).
For example, when applied to objects A and B that have different parameter structures, the parameters of A and B will be given the same structure.
This deletes the selected Deformer and applies the parameters of the deleted Deformer to the child objects.
Changes the size of a model in the Modeling tab.
This is convenient when adding movement results in the model extending beyond the edge of the canvas.
This feature sets a Draw Order for a part, and temporarily assigns the same Draw Order as the parent group to all objects within that part.
This causes the entire part to behave as a single layer.
Since offscreen drawing for parts requires enabling the draw order group, a similar limitation applies in the FREE version.
This allows you to display multiple views from any position.
It is possible to move, add, or remove tabs within the view area.
The current values for the six setting items that can be configured in the [Automatic Mesh generator] dialog box can be saved as the preset values.
This convenient feature allows a snapshot to be used as a guide for the amount of deformation when creating key forms.
This locks the default key form and prevents it from being edited. For example, it prevents a key form of the original illustration from being accidentally changed.
This feature joins the parameter right end and left end in a loop to produce repeating motion.
This feature allows the selected object to be instantly displayed and edited on its own.
The selected object is displayed in the center of the viewing area.
Multiple Deformers can be created in succession without closing the dialog box.
Multiple Deformers can be created in succession without closing the dialog box.
By combining the Mesh copy & paste and inversion functions, it is possible to efficiently create an object mesh that is laterally or vertically symmetrical.
This performs verification to detect any child Deformers or ArtMesh vertices that are outside the parent Warp Deformer.
The names and IDs of model ArtMesh, Deformers, parts, parameters, and all other objects can be exported as a CSV file.
The exported file can be opened with Excel or a text editor, edited, and then imported again to apply changes to all objects at once.
In addition to the conventional parameter interpolation method (linear interpolation), elliptical interpolation and SNS interpolation can also be selected.
This can prevent shrinkage in expressions of hair movement that directly deform the ArtMesh.
This function allows the developer to check consecutive drawing results at the same time by displaying the conditions before and after in translucent form.
In the Modeling tab, the trajectory can be displayed as lines in order to visualize the motion.
These functions can multiply and screen-synthesize the specified colors for an object.
Because the specified colors can be interpolated as a key form, it is possible to embed color changes such as opacity into the movement.
It is now possible to directly edit a model shape in the timeline without adjusting the movement in the Modeling tab.
Fine adjustments can be made in the Animation tab to match the desired animation movement.
This sets steps of 2 or 3 frames in the timeline and can be used to reproduce sharp movement such as limited animation.
This function arranges in a special track all the images that were exported as an image sequence.
The Time Remap function can be used to adjust the display timing in the Graph Editor for the arranged image sequence.
Outputs the animation as a GIF animation. Settings such as framerate and looping can be configured.
Outputs the video in MP4 (OpenH264 + AAC) or MOV (RLE + AAC) format.
Copy and export the animation file along with the material you are using.
It is used to preserve animations as archives or hand them over to other workers, and can avoid accidents such as material files or links being lost.
This function imports a runtime model as a track into a scene. You can import a runtime model into the timeline in order to create animation.